Summary
- Get a VPS server, I deployed to Upcloud
- Login to the server and install docker
- Add
Dockerfile,docker-compose.yamland Github actions to your project - Push your project to Github
- Manually clone the project from the server for the first time
- Run
docker-compose up -dand go have fun. 🚀🚀🚀🚀🚀
Requirements To Get the Best From This Guide
- A terminal. I love Cmder.
- A running django project with a
requirements.txt. The project I deployed uses postgresQL. - Github account
- A VPS, this guide uses Upcloud.
How to Deploy Django to any VPS Using Docker
The Django Project Structure After Set Up
.
├── APP1
├── APP2
├── APP3
├── THE_USUAL_DJANGO_COMMON_FILES
├── Caddyfile
├── Dockerfile
├── docker-compose.yaml
├── manage.py
├── media
├── postgres
├── Procfile
├── README.md
├── requirements.txt
├── staticfiles
The steps below are for fresh server, for subsequent deployment simply make changes commit and push to the Github repository and you’re done! 🎉
Step 0. ✔ Deploy a Server and Create a User
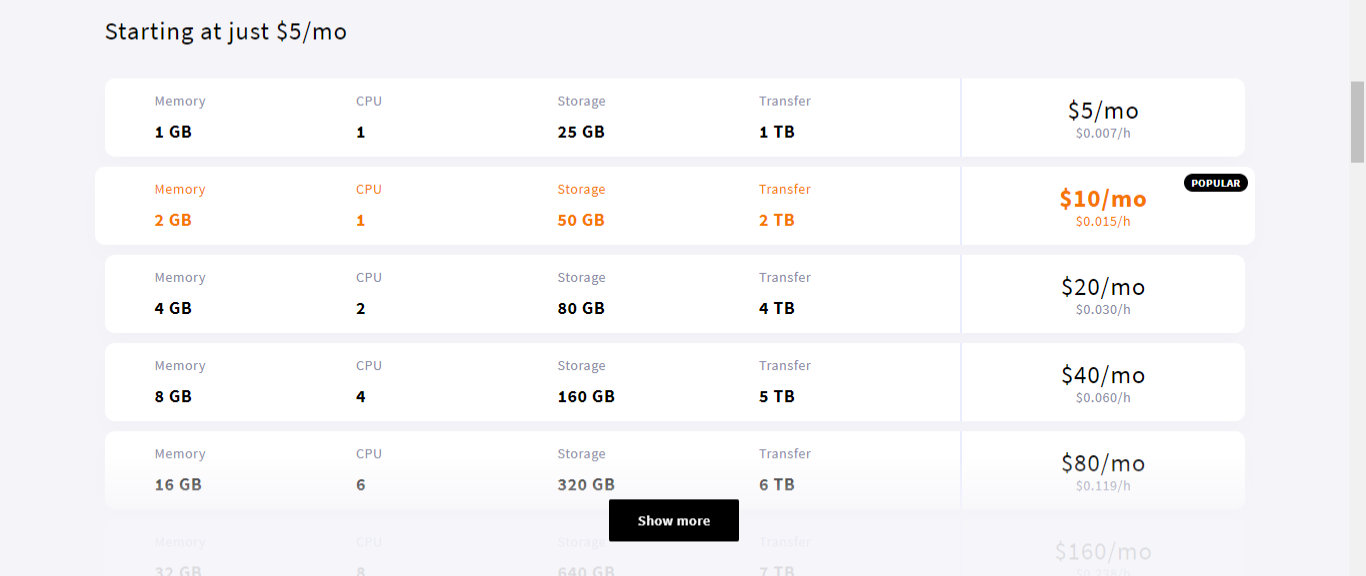
Go to your VPS provider, open an account and deploy a VPS server of your choice. For example, deploy a $5 server on Upcloud.
So, for upcloud, create an account, sign in and then deploy a server of your choice like so:
- Choose a location
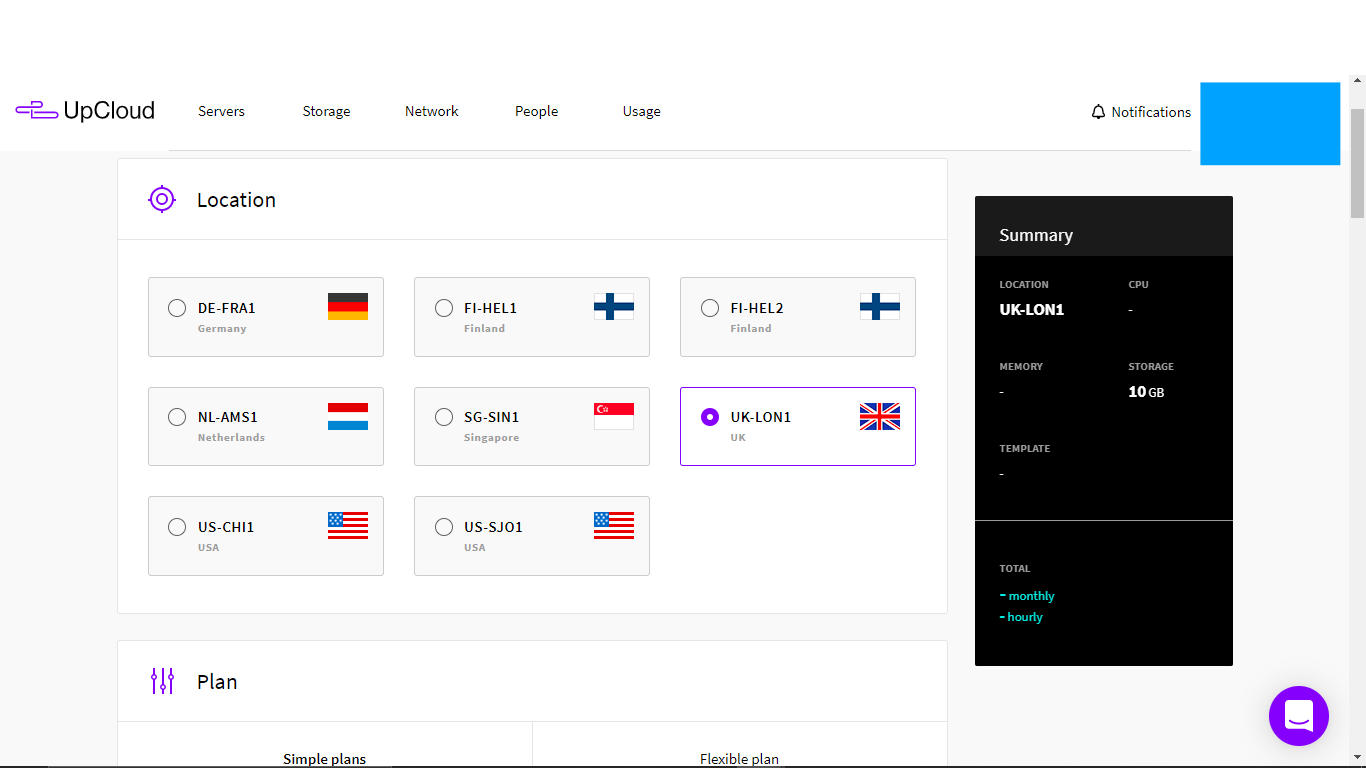
- Select server plan
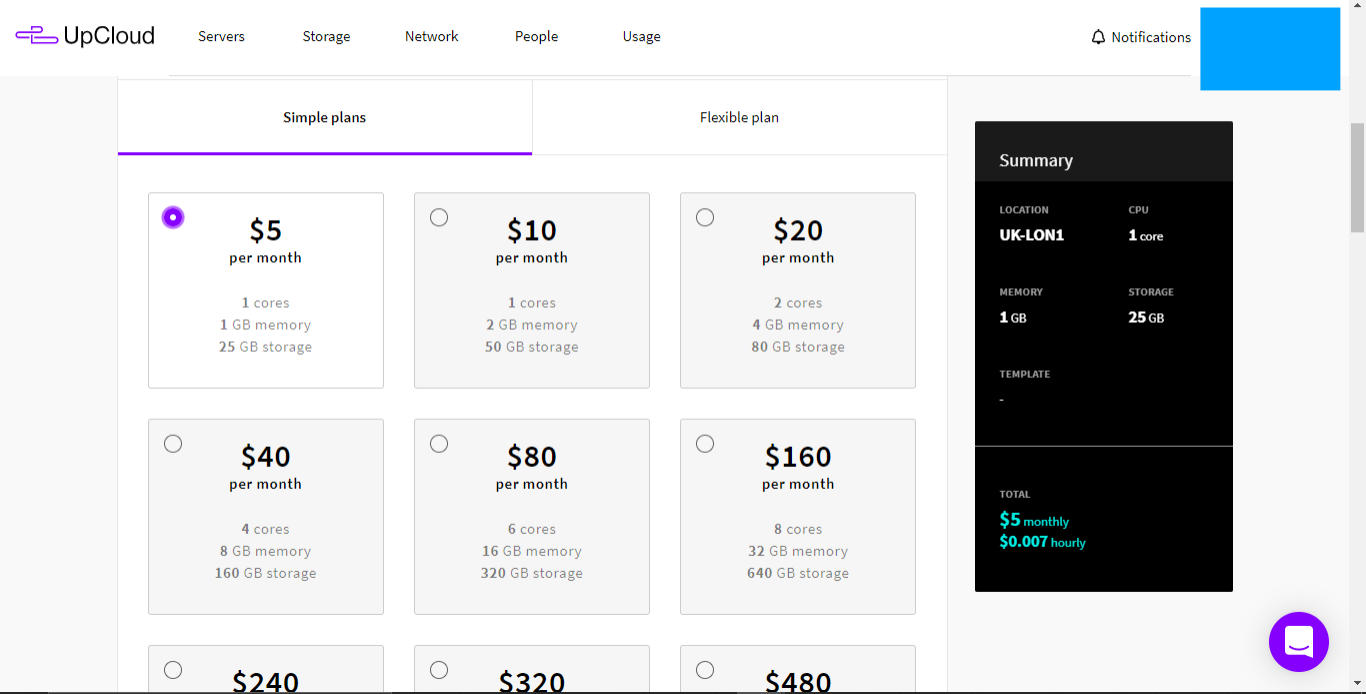
- Choose operating system, I prefer Ubuntu
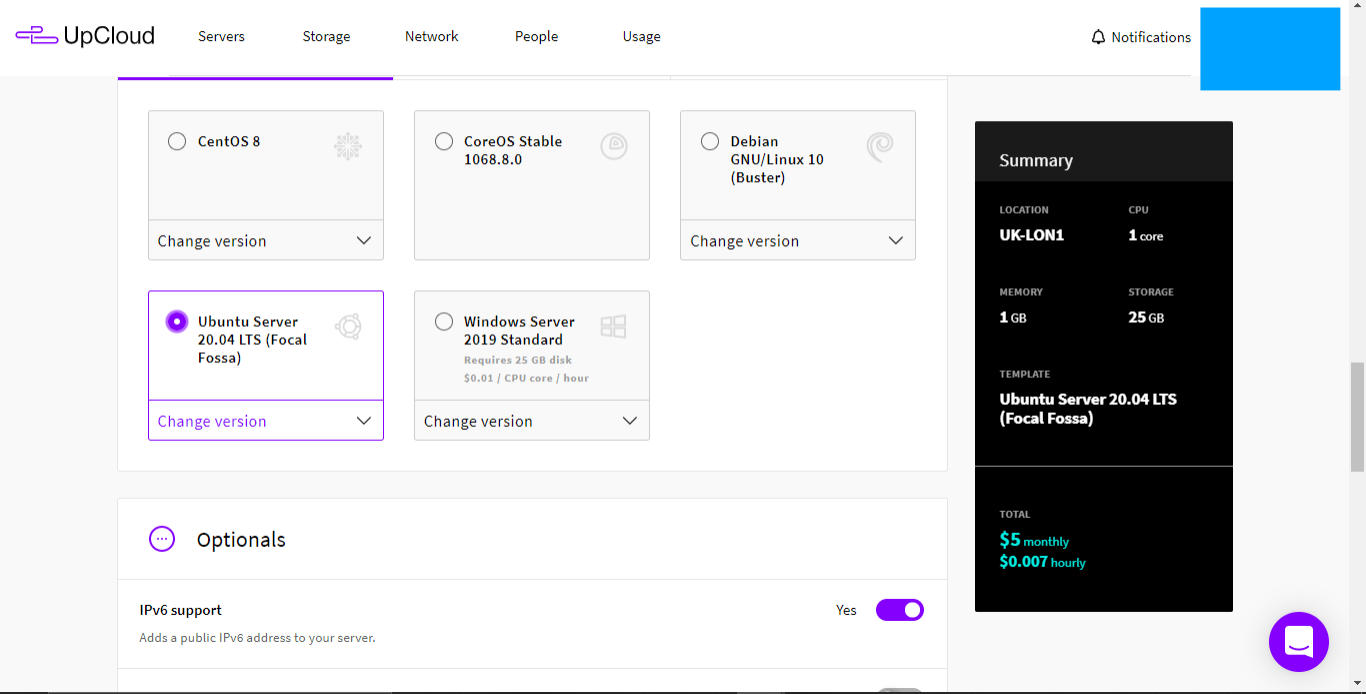
- Deploy and note down the server IP address and the root password
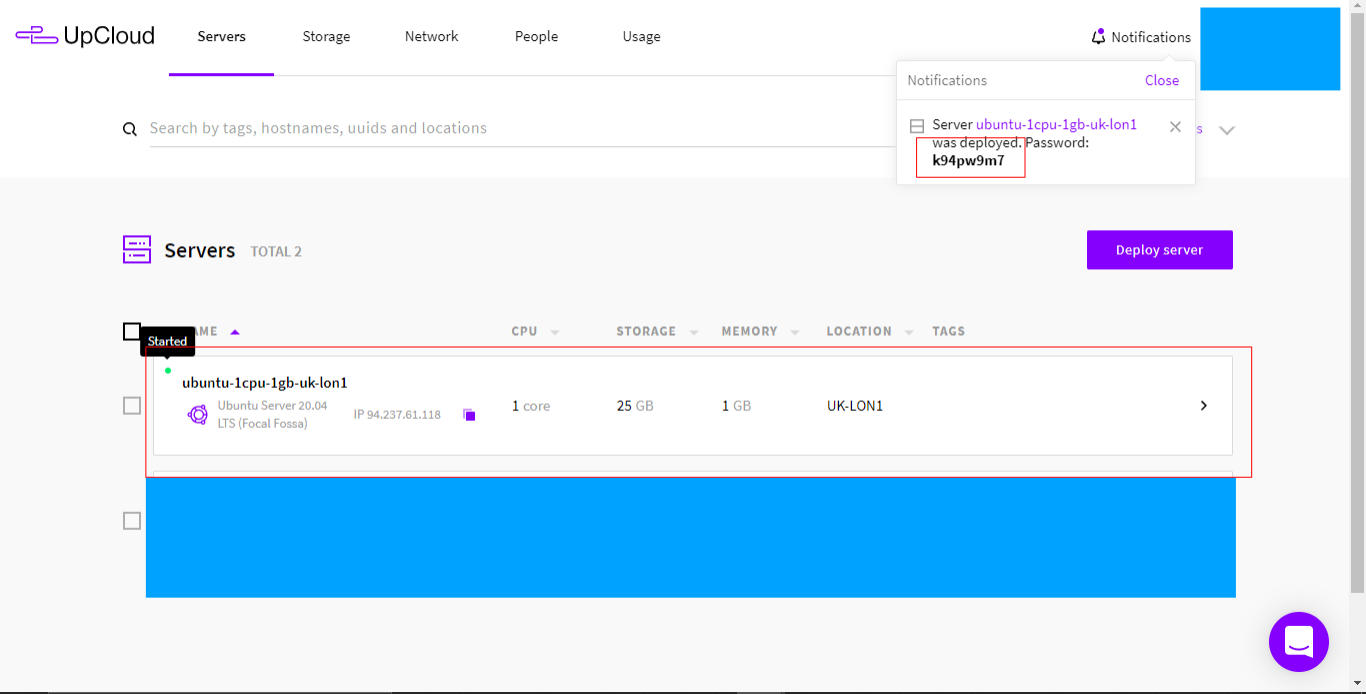
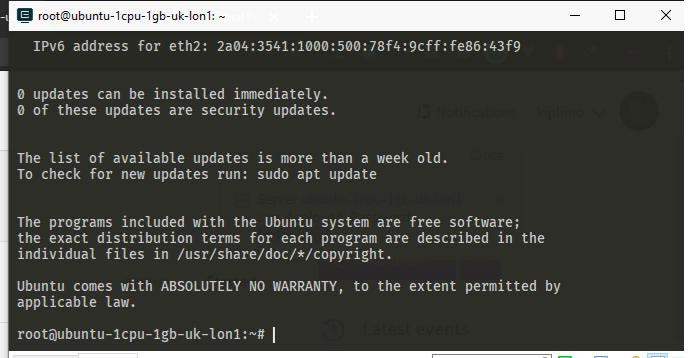
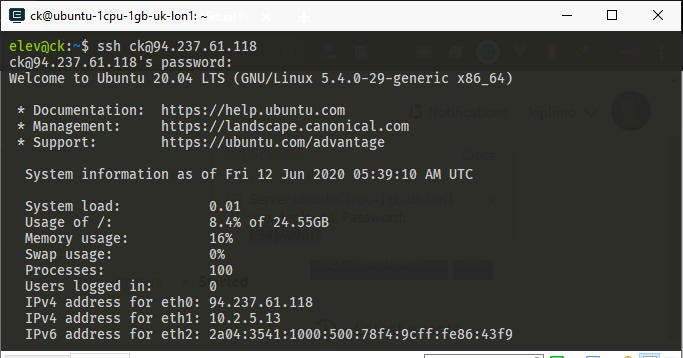
After deploying the server, from your computer terminal, ssh as root into the server (ssh root@YOUR_SERVER_IP and enter the server password).

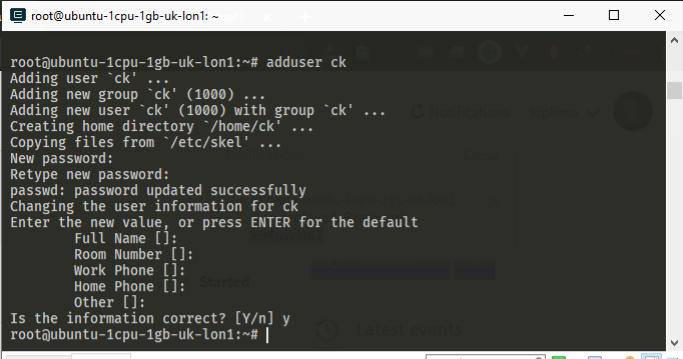
Create a new user by running adduser USER_NAME in my case, that is adduser ck
adduser USER_NAME
Give the new user sudo privileges
usermod -aG sudo USER_NAME
By now, you should have a new user with sudo permission.
Step 1. ✔ How to Install Docker on a VPS in One Simple Script
After you have created a new user above, end the current session by pressing Ctrl + D or by closing the terminal.
Reopen the terminal and ssh into the server as the new user you created by typing ssh USER_NAME@YOUR_SERVER_IP and enter the password you set while creating the user.
Download docker installation script to your server:
curl -fsSL https://get.docker.com -o get-docker.sh
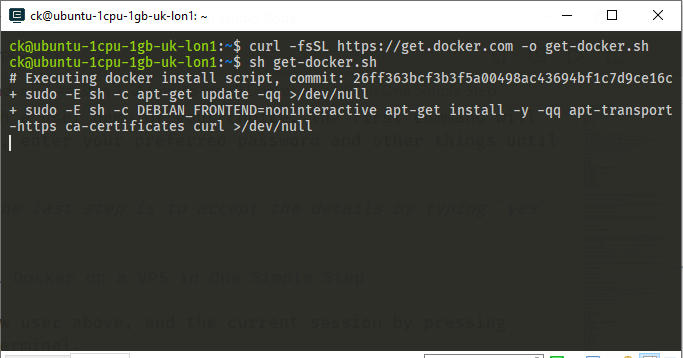
Install docker:
sh get-docker.sh
Modify permissions:
sudo usermod -aG docker USER_NAME
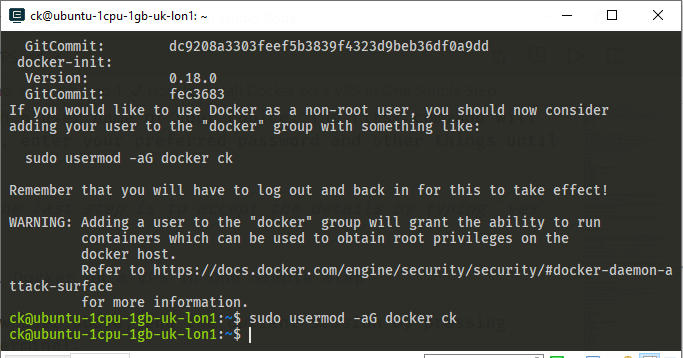
When you install docker, it creates a user called docker. The command sudo usermod -aG docker ck modifies permissions of docker to those of the current user.
The script used is found in an official get-docker repository here
Step 2. Make Your Project Ready For Docker
Here is the project structure again:
.
├── .github
│   └── deploy.yaml
├── APP1
├── APP2
├── APP3
├── THE_USUAL_DJANGO_COMMON_FILES
├── Caddyfile
├── Dockerfile
├── docker-compose.yaml
├── manage.py
├── media
├── postgres
│   ├── Dockerfile
│   └── init
├── Procfile
├── README.md
├── requirements.txt
└── staticfiles
As you can see, we have 3 django apps, the usual stuff and then, there is Caddyfile, top Dockerfile, docker-compose.yaml, and a postgres directory with an init folder and its Dockerfile. There is also a .github directory with a deploy.yaml. These are the only foreign files you must have in your django project.
If you were using SQLite, you’d have a
dbdirectory with your sqlite file same way you havemediaandstaticfilesdirectories.
The following is the content of each file required for docker deployment:
The Root Dockerfile
|
|
The CaddyFile
|
|
The Docker-compose.yaml File
|
|
Postgres Dockerfile and init
|
|
|
|
Make sure you cd into the init directory inside postgress folder and run chmod +x 01-db_setup.sh to make the file executable.
The Deploy.yaml
|
|
If you have added all the above files, your project is ready for deployment.
Now push to github.
Step 3. Clone Your Git Repository and Run Docker. I Use Github
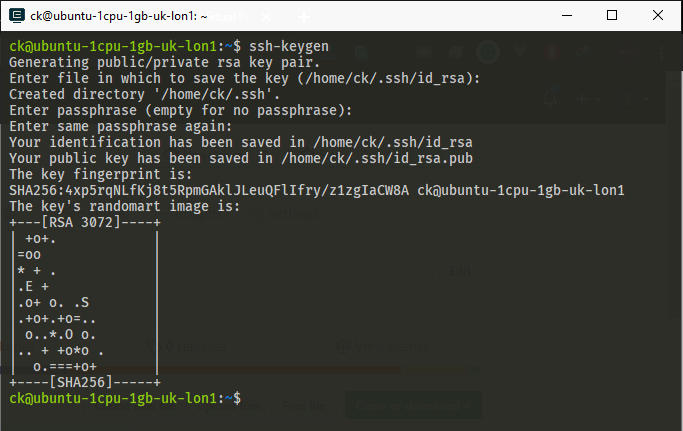
As a pre-requisite, ssh to your server and run the command ssh-keygen and press enter all through. Don’t enter any password.
Then, open a new terminal window on your computer and run the following command:
scp USER_NAME@YOUR_SERVER_IP:~/.ssh/id_rsa.pub temp_key.pub

The command will copy the public key of your newly created ssh key from the server to the temp_key.pub file in your current directory. And if you are using a text editor like VS Code, you can type code temp_key.pub to open it. Just use any text editor you got.
It will look something like:
ssh-rsa AAAAB3NzaC1yc2EAAAADAQABAAABgQDHBFwTkw2POX9Ecn4VCSCrdexnomnwEbrK0ToRobeQI5fsoF7NrlRG6AFPSOyKxbbzjc0j6+R4WgMIBIWzo+97yEUdbGM7mR7+g9P/3/lX8hVZHyhphWv+Mz/C0eok+j7SipThXKlLUfn4NqC5PxV0LwkEDt16/b8f30r+TvcuwQ4Xr+rNkoza0E46owl7ob5ZVxnT6btpxeyUbAw80kNFptxJg24eo4iHyKlSX2M7uMFWxXyHysOukBBAHYn+ux5LcGrFcRfbeREeG5QAyoiPOcPZc+F7/7GmgU5HzmJaa9NxqQ8dBthbLfEXHaAPDFnkLPR8ADvfBYuLZr2T6k7RXdY1iZlGuLlMqLqJ0ab26rQOg5GaTcE8r/o8PVooFtvSK86mXwDpUVDw9OuVanU5dfzNm/An0G8HNSAHeI3axkuE3Vg2XaeRIpz6wHlP6OBDBJJ6FfkagLzPVZ5mPhKk/Fo0xII+/ryw3hEkMApa6XiSL4zEdRZV09Fc6FAvrIs= ck@ubuntu-1cpu-1gb-uk-lon1
Copy the content of your key and go to your git hosting provider and add the content to your list of ssh keys. Name it anything. If your git provider is Github, click on your profile head on the upper right corner > settings > SSH and GPG Keys > Add new.
Now that you have your Git hosting ready to accept ssh from the server, you can go back to the server terminal and clone the repository. Remember, we are using the server as the new user you created above, never as root.
cd into the cloned project and run docker-compose up. Running this command the first time will take a few moments, however, subsequent runs will be snappy.
In production, you will always run
docker-compose up -d, but in this case, we first want to see the output on the console so we can make sure things are running smoothly. In case you see an error, go back to the files we added and go through once again to make sure everything is correct.
If everything is running as expected, shut down the containers by using Ctrl + C. Then run docker-compose up -d and go have fun. Or sleep. I chose to sleep.
References
Leave a comment or share some love below.
comments powered by Disqus
You might also like
10 Ways to Ensure You Write Future Proof Code as a Developer
Building a Better Web By Improving Performance and Speed to Enhance User Experience
How to Start Programming - Learning for a Self-Taught Software Engineer, Developer or Programmer
The Tools I Have Used for Web, Desktop and Mobile App Development so Far
Authentication in Phoenix Framework Using Guardian - Boilerplate Code
Phoenix Framework - Developing in WSL to Avoid Compilation Issues
How to Backup Your PostgreSQL Database to Google Drive Automatically Using Bash